Skip to content
Salt dough ? A great manual activity for kids and adults! !
Salt dough is a simple and economical manual activity which is very popular in France. It allows children to develop their creativity and to spend a pleasant moment with their family. Salt dough can be related to sculpture and both children and adults love it!
Justine Varin - Writer
What is the recipe for salt dough?
And yes! Making salt dough is also cooking! Don’t worry, the recipe is very simple, it requires little preparation and few ingredients.
Ingredients:
-1 glass of warm water
-2 glasses of flour
-1 glass of salt
Utensils:
-1 large glass
-1 salad bowl
-1 oven
– your artist’s hands!
Preparation:
In a large bowl pour the flour and salt and mix with your hands (don’t forget to wash them before).
Then, pour the glass of warm water little by little and mix.
Knead with your fingers until you have a dough that is neither too liquid nor too dry.
Once the dough is prepared, start making your sculptures.
When you have finished the manual activity, let it dry for a few hours and put it in the oven to harden completely.
What age to make salt dough?

There is no age to make salt dough, young and adult can love it! It is an activity that you can do with the whole family.
As you can see the preparation is very simple, if your children are older than 6 or 7 years old, they will be able to do it alone but it is better to accompany them for the first time.
You can also make the dough with baby since the preparation is not toxic, if baby puts the salt dough in his mouth you will not have to run to the nearest poison control center.

What to do with salt dough?
Salt dough can be declined in many shapes, however, it is better to stay on flat figures, they will be much easier to execute and to cook!
You can also use cookie cutters with younger children, you can use cookie cutters intended for cooking or modeling clay.
If you want to make salt dough with your young baby and make a great souvenir, roll out the salt dough and place baby’s hands or feet on the mixture. You’ll have a great print that you can keep with you for life.
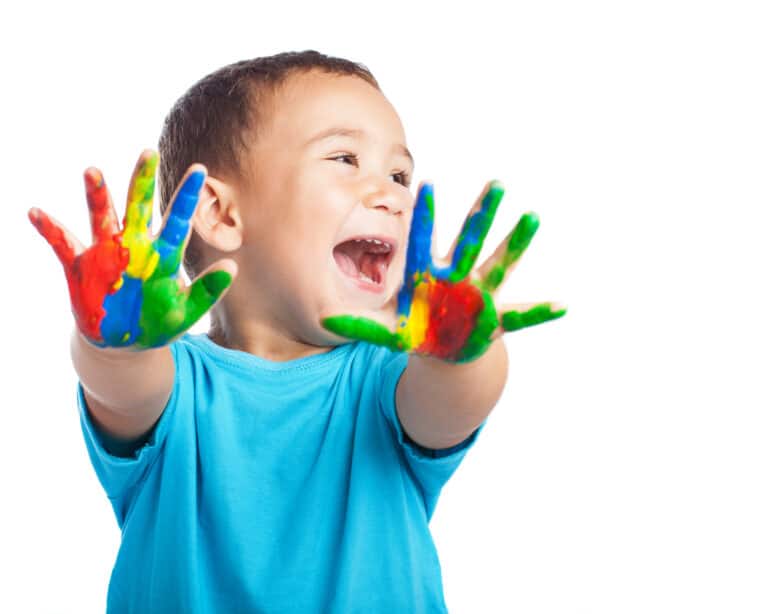
Then, salt dough is not only for sculpting! Once the salt dough is baked, hardened and completely cooled, children can paint their work. Salt dough is therefore ideal to keep the kids busy all weekend, you can create the dough, do the sculpting and baking on Saturday afternoon and organize a painting workshop on Sunday. It’s great isn’t it?

“Salt dough is the most fun craft activity you can do with the whole family.”
How to create a Mickey Mouse key ring in salt dough?
Mickey Mouse head is very easy to make with salt dough, if you help your offspring, this activity can be done from the age of 3 to 4 years.
1. The Mickey Mouse head is made from three circles, two small and one large. To create the different circles you can use coins. Place them on the flattened salt dough and cut out the round with a knife. A plastic knife will work perfectly and will not endanger the children.
2. Once you have the two small circles and the larger circle, glue them together to make the shape of Mickey’s head. If the pieces of salt dough have difficulty holding together, the trick is to add a few drops of water and a pinch of salt on the places to be glued. Then press the pieces together.
3. Do not hesitate to re-cut some parts if by pressing the dough is a little deformed. This can happen on the junction between the head and the ears of the most famous mouse in the world.
4. Once everything is well glued, make a small hole on the forehead of Mickey, for this you can help you with a toothpick or a stick for the skewers.
5. The next step is to let the Mickey sculpture dry a little (about 1 hour) and put it in the oven until it is completely hard. Also, be careful of the small hole that you can unclog if you notice it shrinking during baking.
6. When the Mickey keychain is completely hard and baked, let it sit overnight.
7. Next, get brushes and paint and choose a dark color to paint the entire Mickey head. Paint and let it dry.
8. Once the first coat is dry, write your child’s name on the key ring in a lighter color that will show against the darker background.
9. For the attachment, you can put a ring or hang the key ring with wool or ribbon.
And that’s it! You have a nice Mickey keychain that your kids will love!

Stay safe and organize a virtual party
Keep the fun going and throw a virtual party! We’ve created a 100% online party solution just for you and your kids.
Get in touch with real artists who offer live shows via Zoom, especially for you and your friends by logging in at the same time to enjoy the show and party together.